


Note: These instructions only cover installing a Herd bumper on a 379 Peterbilt. Installing a Herd bumper on other models may be similar but Herd manufactures these bumpers to be make/model specific and use of a Herd bumper on a vehicle it was not designed for may void the warranty. Also, to help maintain the factory finish of your Herd bumper, try to avoid acid washes. To find the right grille guard for your rig, visit www.4statetrucks.com.
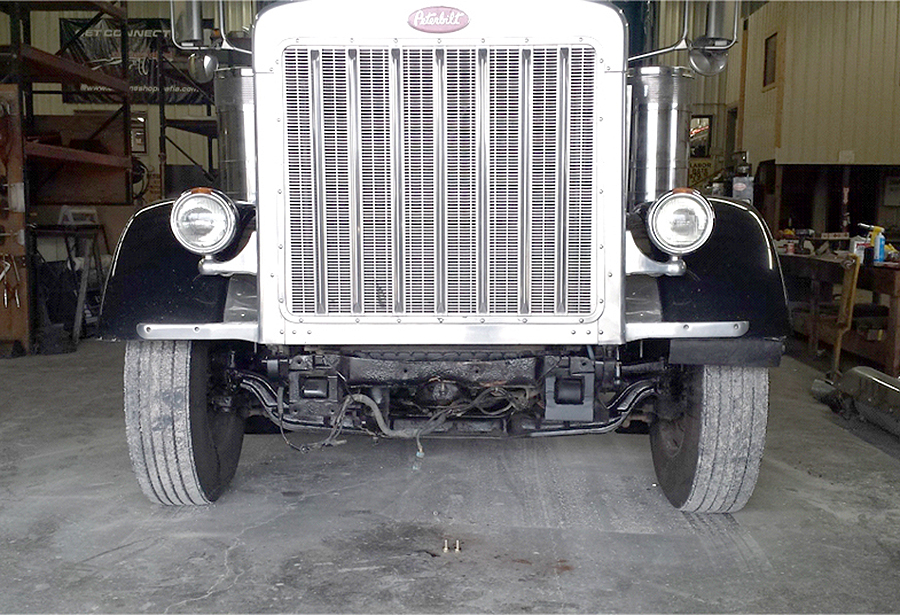
Remove your factory bumper.
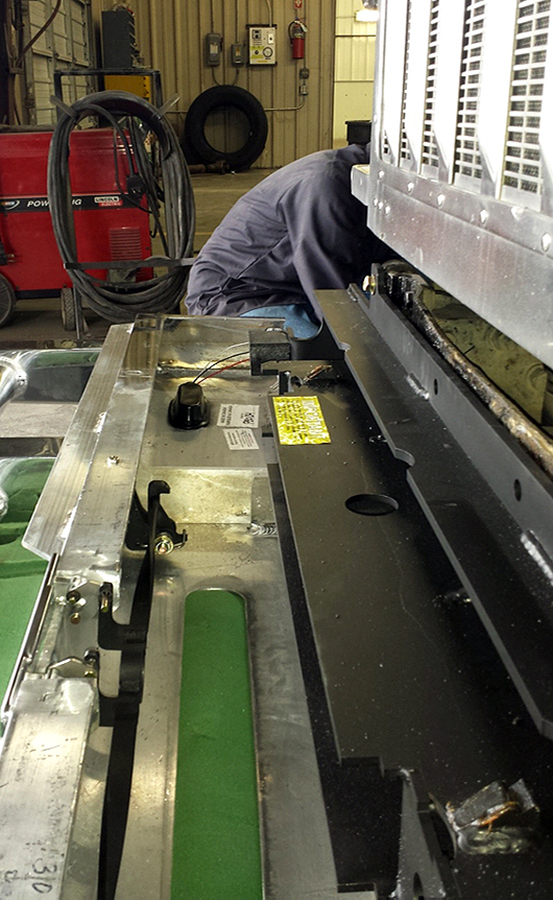
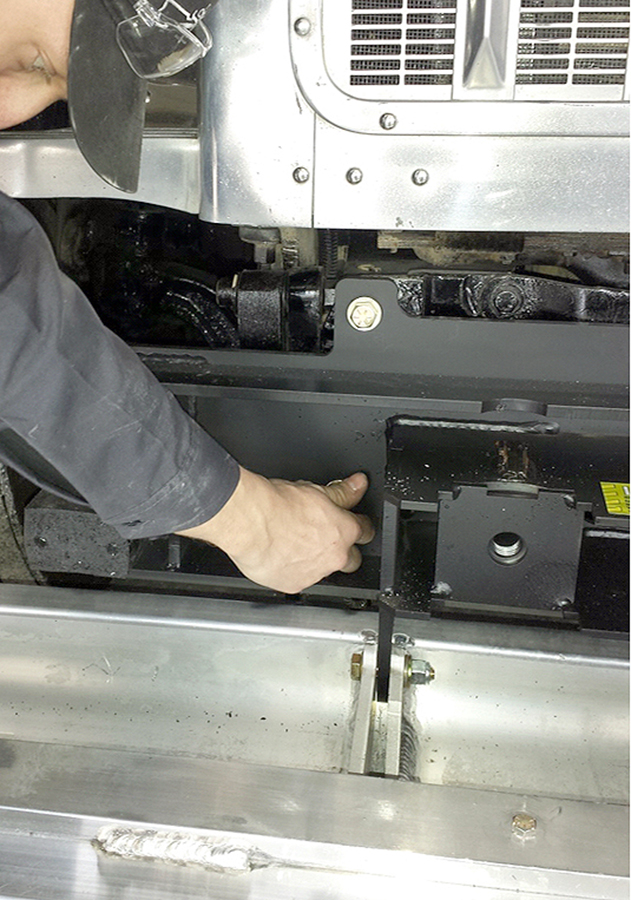
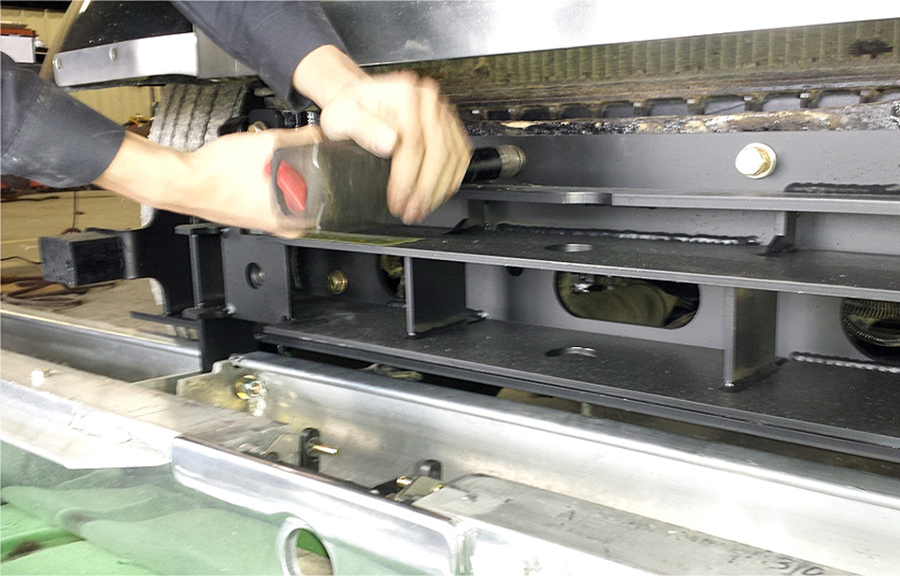
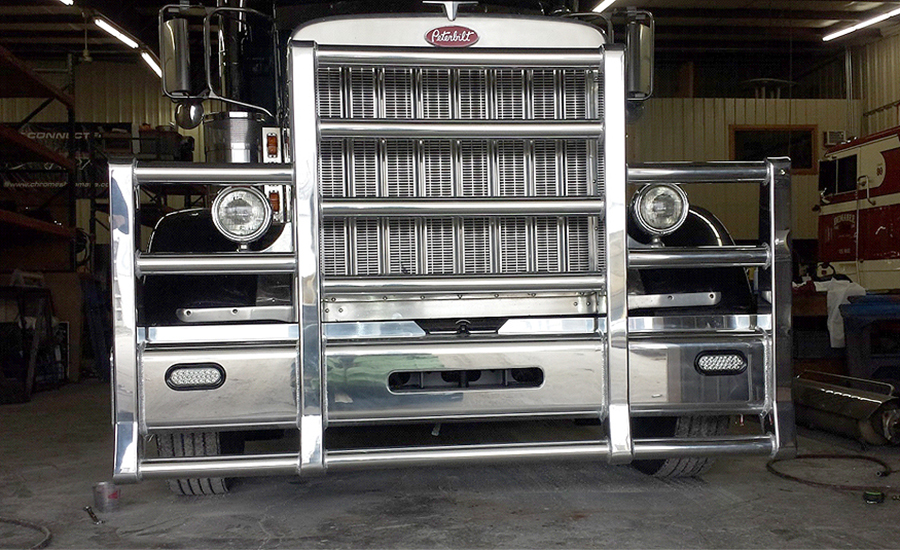
Make sure to have an extra person or two to help get the Herd bumper into position. Swing it “open” or into the “down” position so you can access the mounting points. Use blocks or something sturdy to set the guard on once in position. Also, make sure to use foam or some kind of padding on top of whatever you’re using to set the guard on. You should have 12 mounting points – the factory bumper bolts, the center bolts for the tow pin, and the lower braces.
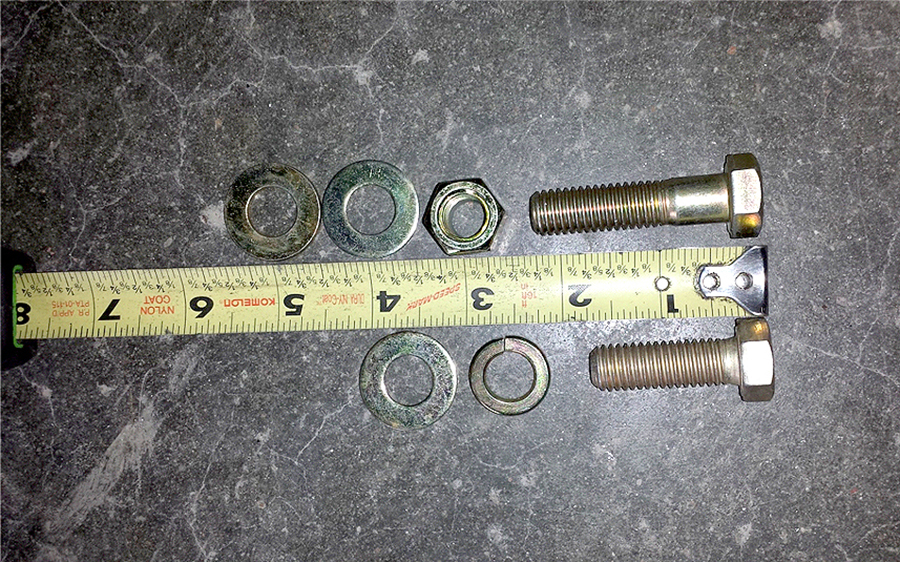
Herd recommends using only Grade 8 hardware where additional hardware is needed.
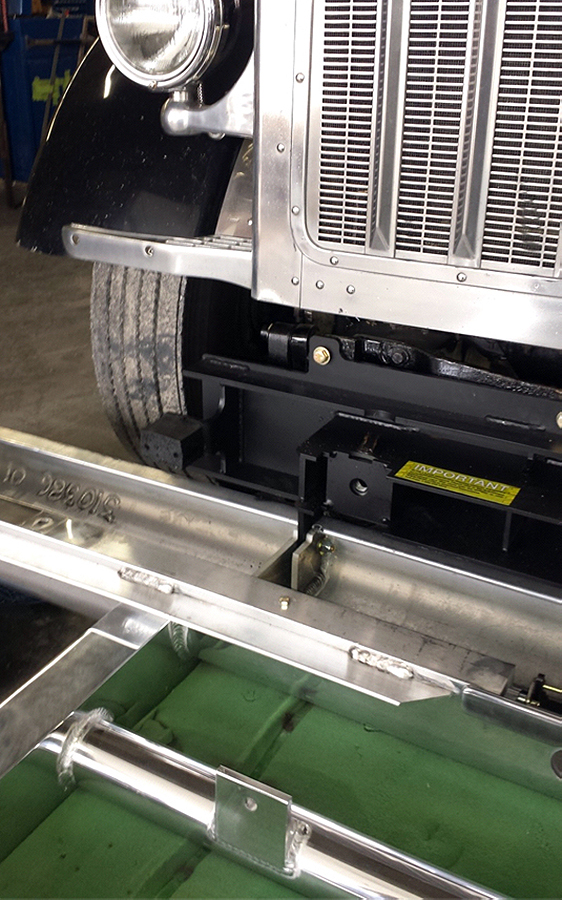
The Herd bumper comes with “beefed up” flat bar lower braces to replace your factory ones. The tow pin holes may need to be drilled out to 7/8” to accept the larger bolts. Before tightening any of the bolts in your new Herd bumper, be sure to level the bumper with the truck. The easiest way to do this is to measure off of the bottom of the grille.
If your truck is equipped with a tow hook instead of a tow pin, you will need to remove the hook and replace it with Herd part #1-MP-PB-HDTOW or 4 State part #01-47274. This will bolt on where the tow hook did and provide the other two mounting points needed to secure the Herd bumper. This is especially important should you need to tow your truck, because these mounting points are situated directly behind the Herd bumper’s built in tow pin.
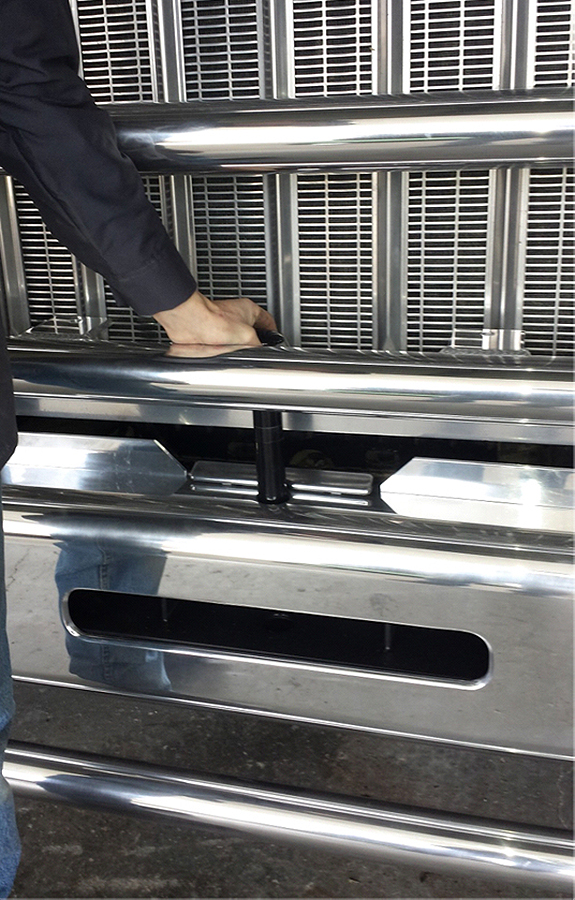
This Herd guard is equipped with a cool Herd “Slam Latch”. So, the large ‘eye bolts’ you see on many bumper guards are not necessary when a Slam Latch is utilized. When installing a bumper with eye bolts, you will need to tighten them firmly, in order to hold the bumper securely in the “up” position.
Simply “slam” the Herd guard into the “up” position and drop in the tow pin. This tow pin helps keep the bumper secured in the “up” position. To open the hood, simply remove the tow pin, release the Slam Latch, and then lower the guard.
Now you’re ready to take on the biggest, meanest, nastiest moose the country has to offer!