Close Menu
    Facebook X (Twitter) Instagram
    Friday, December 5
    Facebook X (Twitter) Instagram YouTube
    10-4 Magazine
    • About
      • About 10-4
      • Contact
      • Our Advertisers
    • Subscribe
    • Calendar
    • Galleries
      • Centerfolds
      • Covers
    • Fun
      • Truckertoons
      • Words To Live By
    • Studio 10-4 LIVE!
    • TFK Truck Show
    • Trucker Rodeo
    10-4 Magazine
    You are at:Home»Do-It-Yourself – “How To…”»How To Install A Boltless Bumper
    Do-It-Yourself – “How To…”

    How To Install A Boltless Bumper

    By Bryan MartinApril 1, 2021Updated:April 1, 2021No Comments2 Mins Read
    Facebook Twitter Pinterest Email LinkedIn
    Share
    Facebook Twitter LinkedIn Pinterest Email

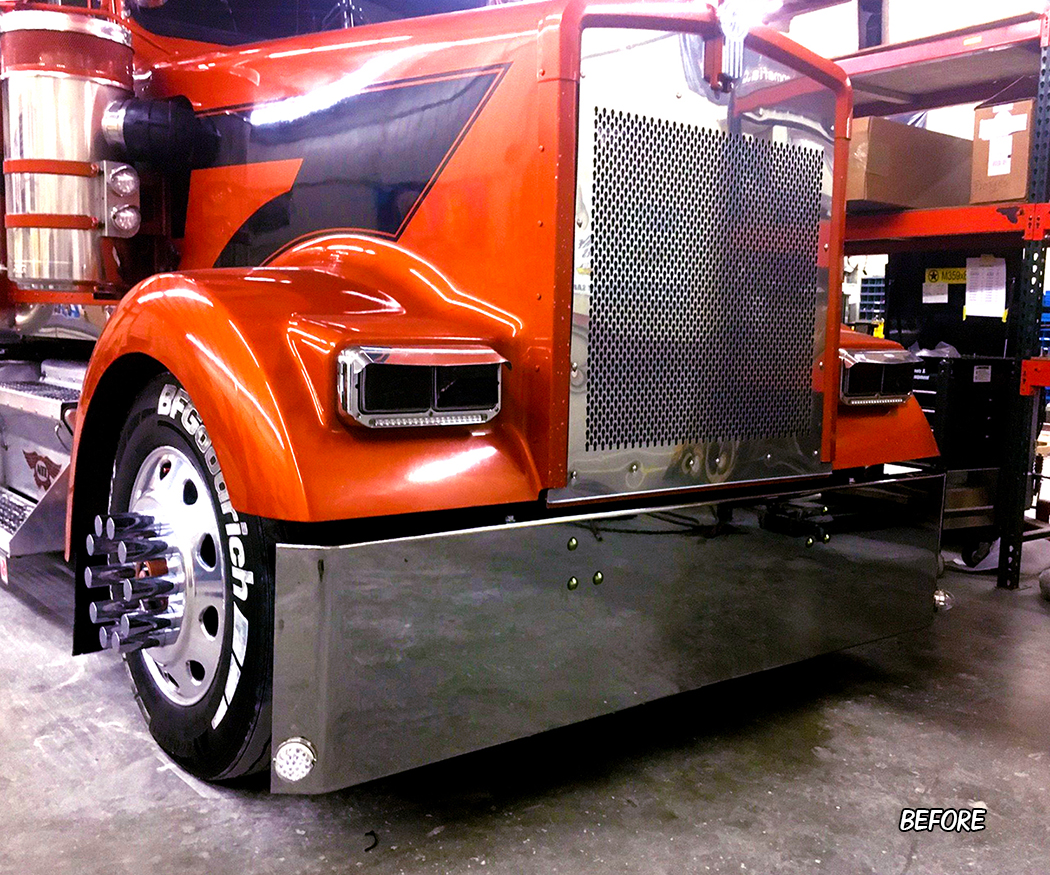
    Who doesn’t like a blind-mount boltless bumper from Valley Chrome?  Although installation is fast and trouble free, we get frequent calls inquiring “How do they mount?”  Hope this helps.  Check out this great looking Kenworth with a shiny new 20” Boxed End Valley Chrome bumper!
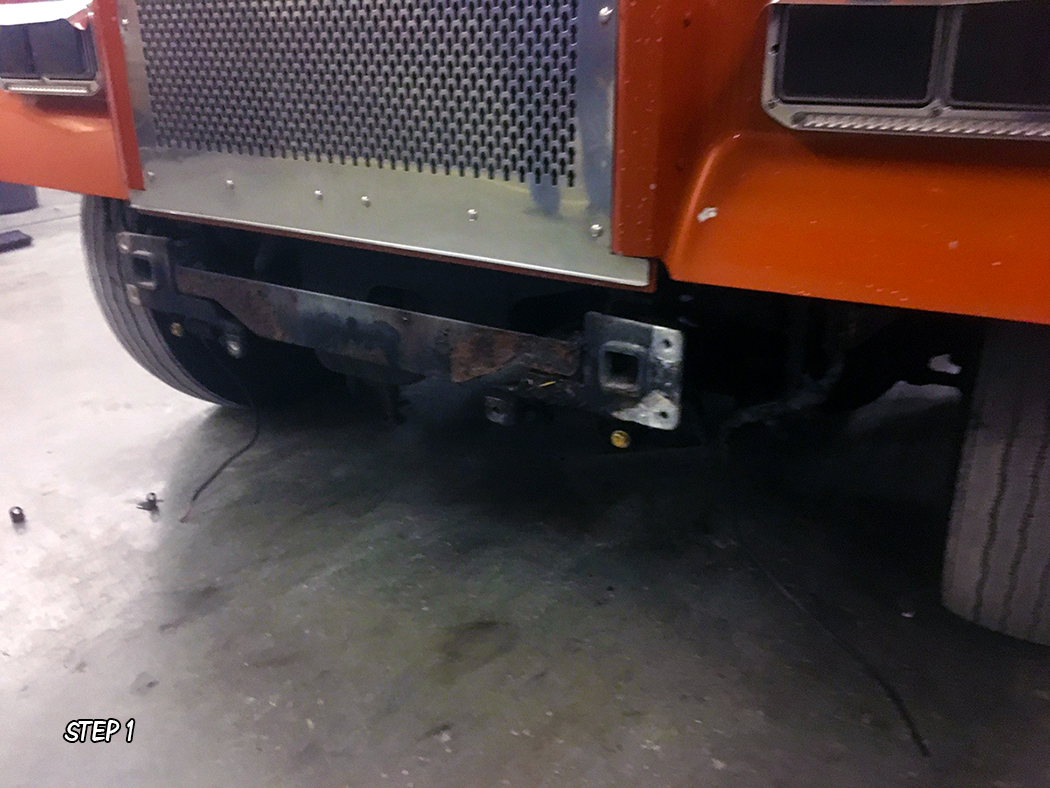
    STEP 1

    Start by removing bolts to remove the old bumper.  Clean up the frame mounts so they are free of debris and smooth.  Then remove old bumper braces.
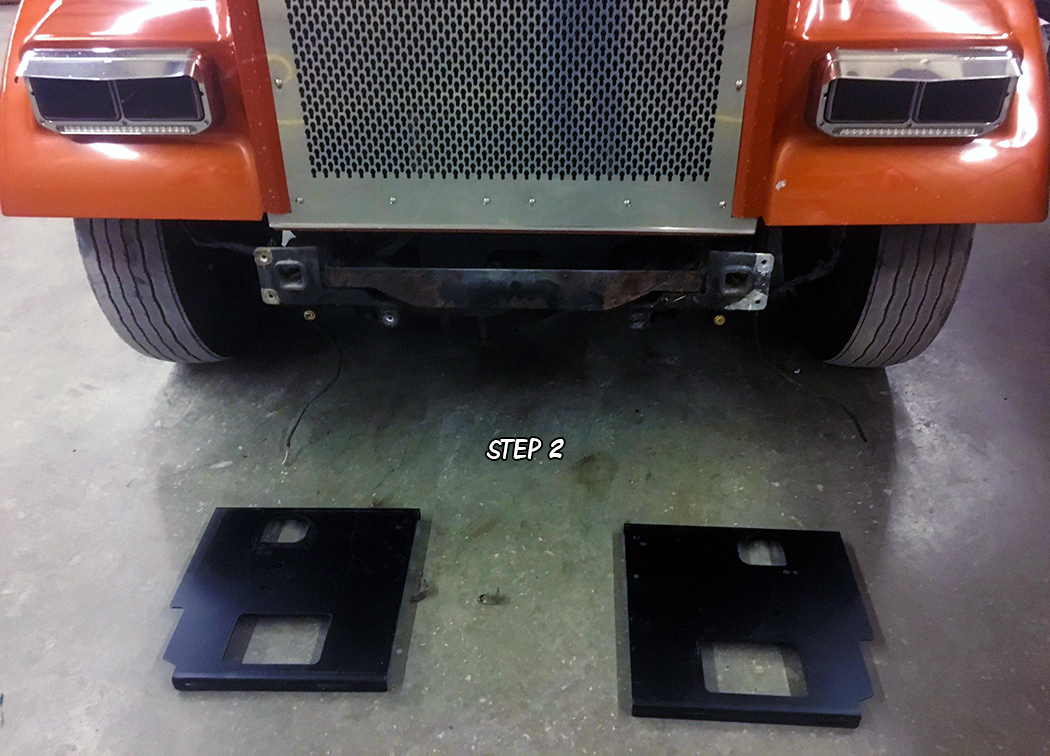
    STEP 2

    Remove the mounting plates from inside of the NEW bumper and lay them out in front of the truck.
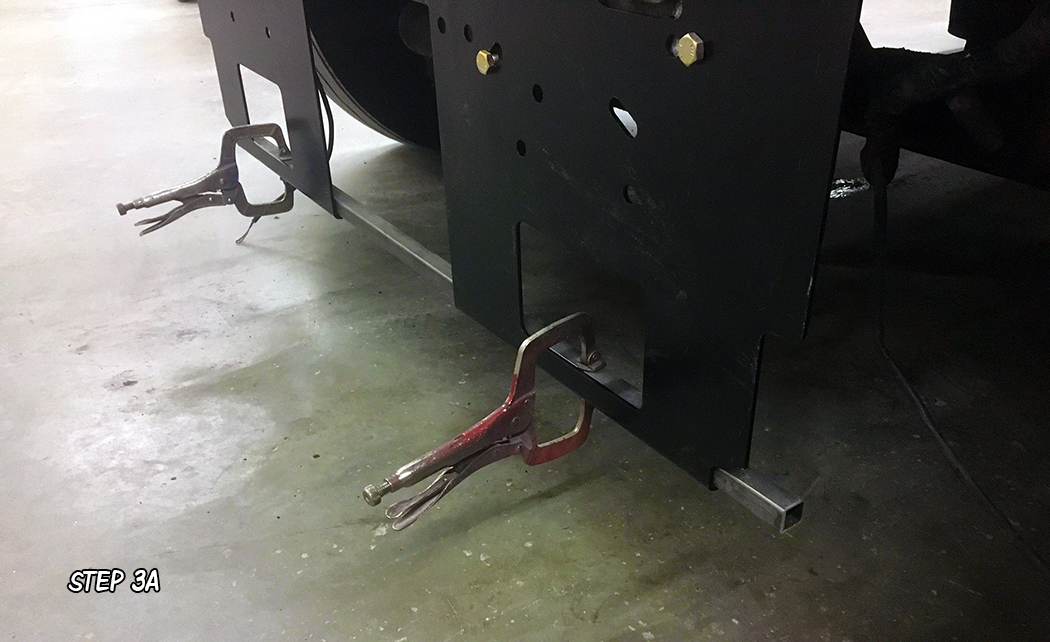
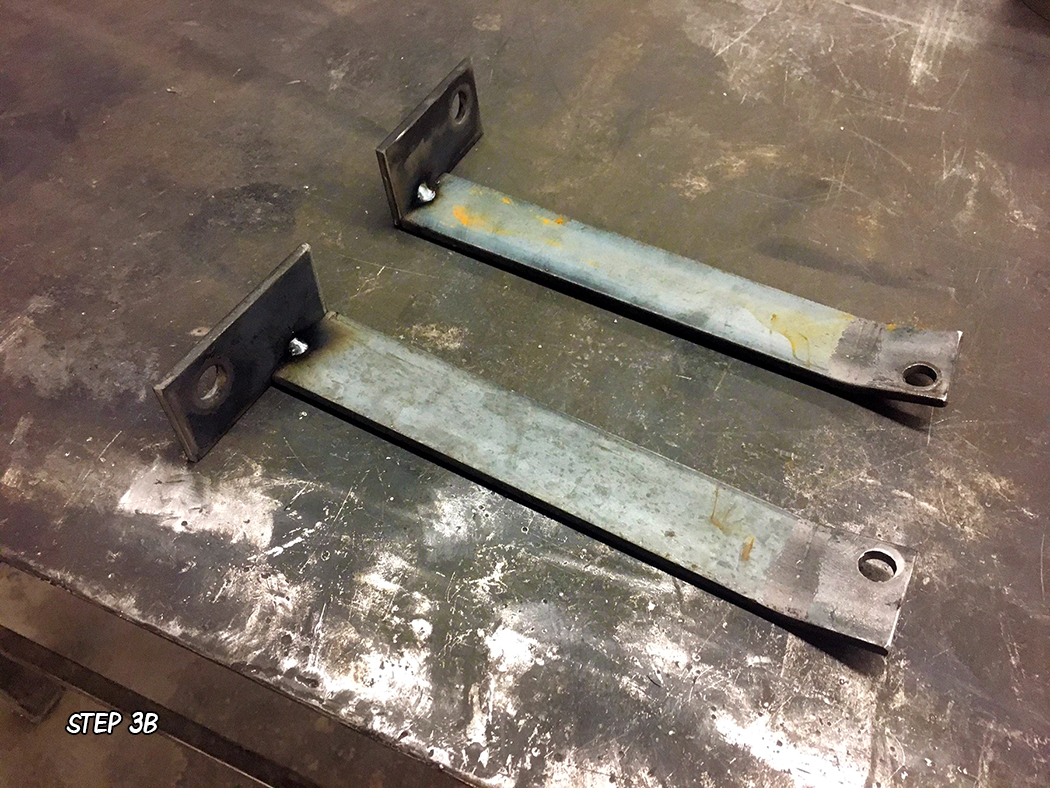
    STEP 3

    Clamp a straight edge to the bottom of the plates to make sure they are straight.  You will need to build new lower braces like what is shown above.  Replace the outer front spring bolt with a longer bolt to accommodate for the brace that you are adding.
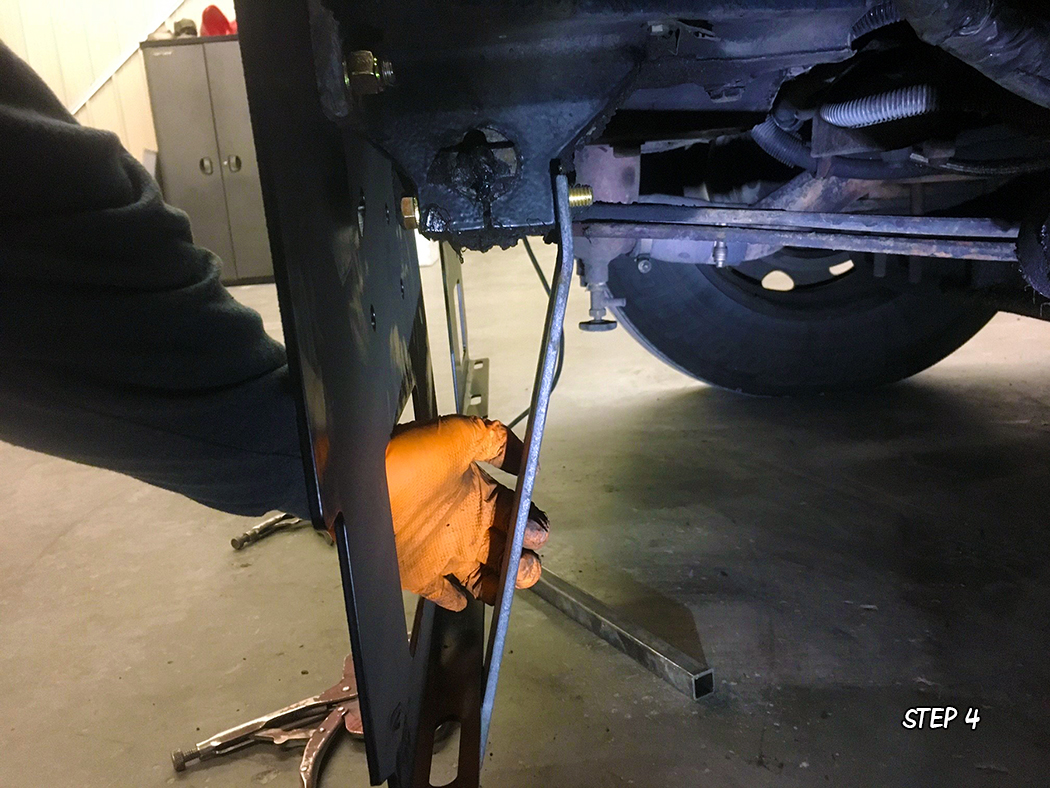
    STEP 4

    Loosely attach the new mounting plates to the truck.  Make sure that the flanges are pointing towards the rear of the truck.
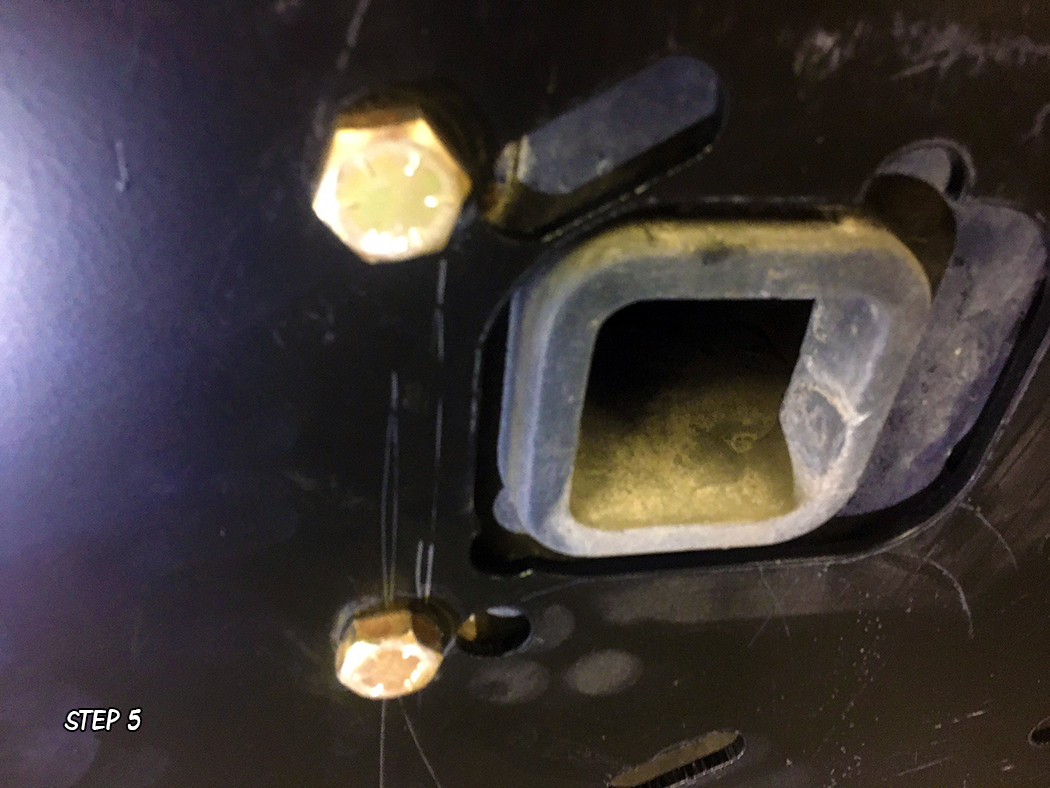
    STEP 5

    DO NOT put washers on the mounting plate bolts.  The bumper will be damaged if you install washers.
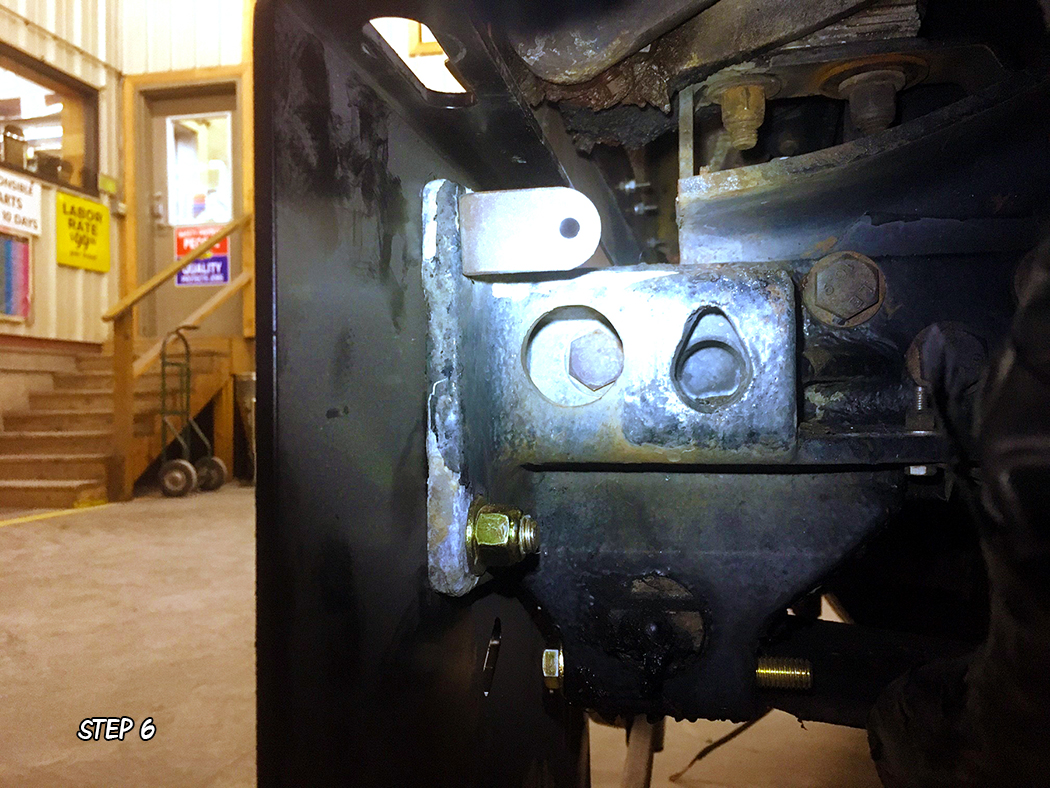
    STEP 6

    Once you have all the bolts installed on the mounting plate, go back through and tighten all the bolts down.
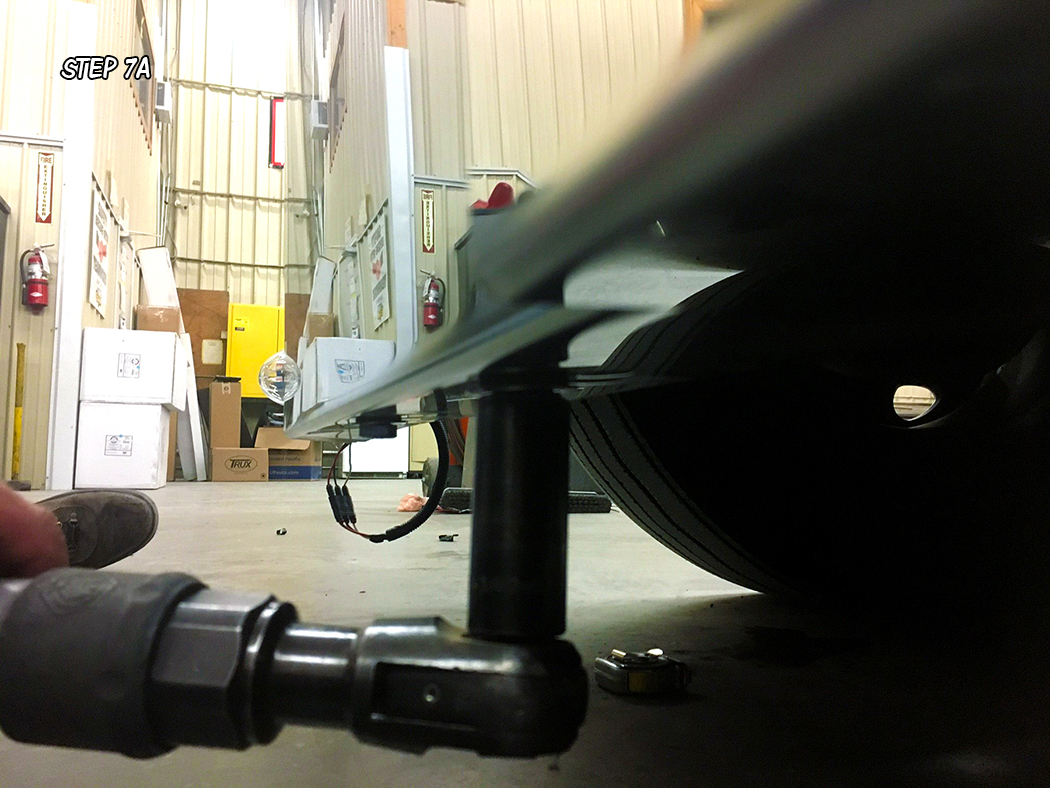
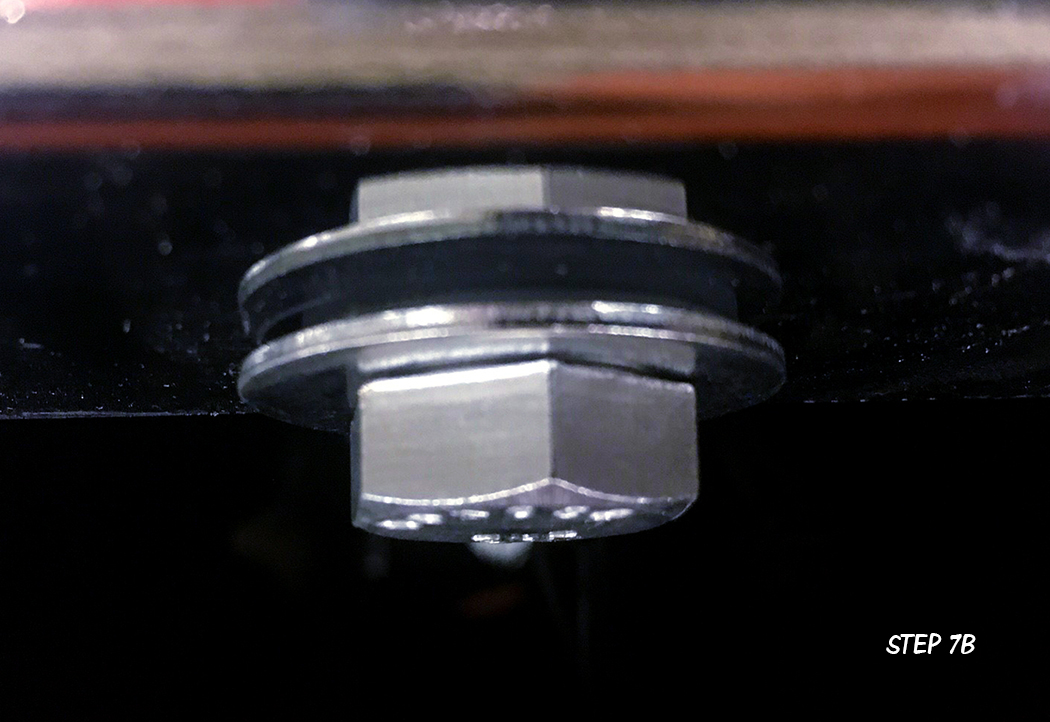
    STEP 7

    Set the bumper over the mounting plate and install top and bottom bolts, then tighten down.  Use nylon washers as shown above.

    FINISH

    Use a soft paper towel and glass cleaner to clean the bumper of any smudges or fingerprints.  Easy-Peasy-Done!

    Check out more Valley Chrome bumpers for your big rig at www.4statetrucks.com… Home of the Chrome Shop Mafia!

    Share. Facebook Twitter Pinterest LinkedIn Tumblr Email
    Previous ArticleNever Slowed Down
    Next Article Managing Information Overload
    Bryan Martin

    Related Posts

    SCI Smart Pad Installation

    March 1, 2025

    Do-It-Yourself – Storage

    April 1, 2024

    How to Install a Shock Box Cover

    March 1, 2023
    Leave A Reply Cancel Reply

    12 ga Customs
    Pacific Coast Insurance picture
    Grand General

    Empire

    10-4 Magazine Swag from Stay Loaded
    Get your 10-4 Gear!
    Archived Editions by Category
    Older 10-4 Archives
    Articles Prior to 2011
    Archives by Edition
    Copyright © 2025. All Images and content on this site are protected by copyright laws, but 10-4 Magazine gives viewers the right to download images or text for personal use. Simply click on most images to access a higher resolution image for viewing and/or downloanding. For commercial uses, call for permission.

    Type above and press Enter to search. Press Esc to cancel.