


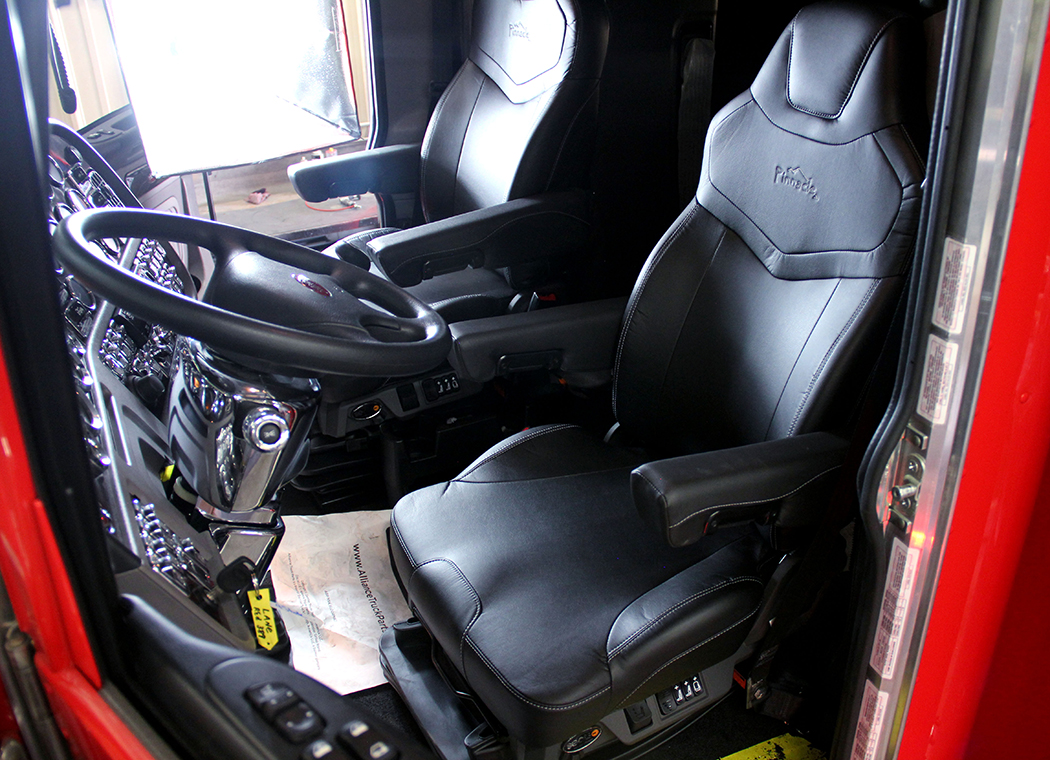
Earlier this year, SEATS Inc. unveiled the Pinnacle Series seat. My favorite feature is the fact that it has adequate suspension travel whereas it can be used as a low-profile base or as a standard height base! One seat = best of both worlds! Plus, it mounts in a standard bolt pattern that will allow “drill-free” installation in most trucks. These are just two of the many great enhancements the Pinnacle offers! Plus, it sits extremely well and looks awesome, too!
STEP #1:
Remove any obstructions from the working area such as floor mats, tools, drink bottles, etc.
STEP #2:
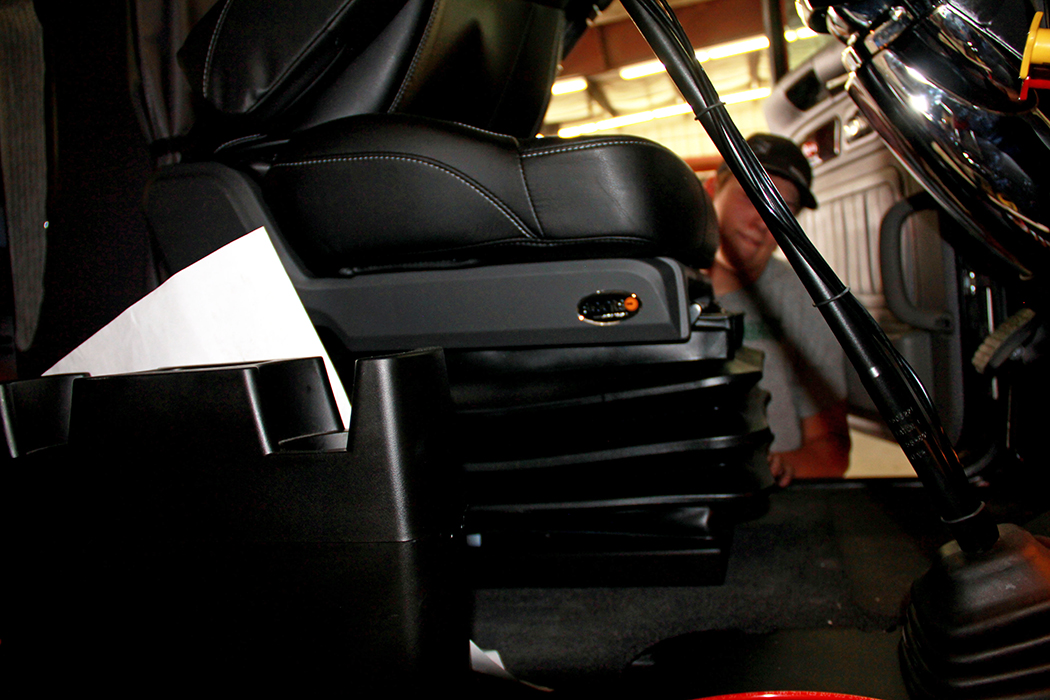
On some OEM seats, there is a metal shroud that covers the base of the seat. Simply remove the two phillips-head screws in the front and slide the shroud forward. This can be discarded, as it will not go back on the new seat.
STEP #3:
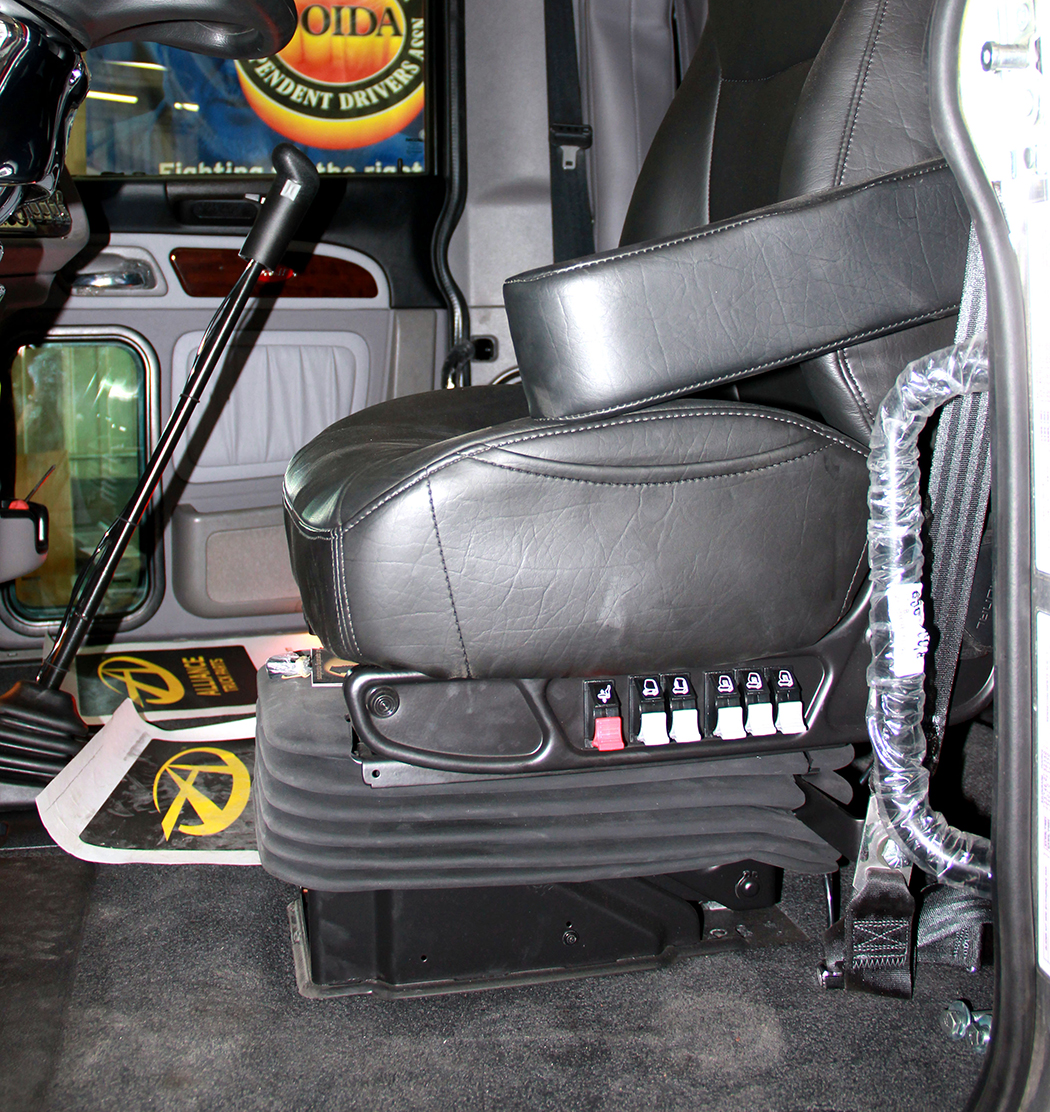
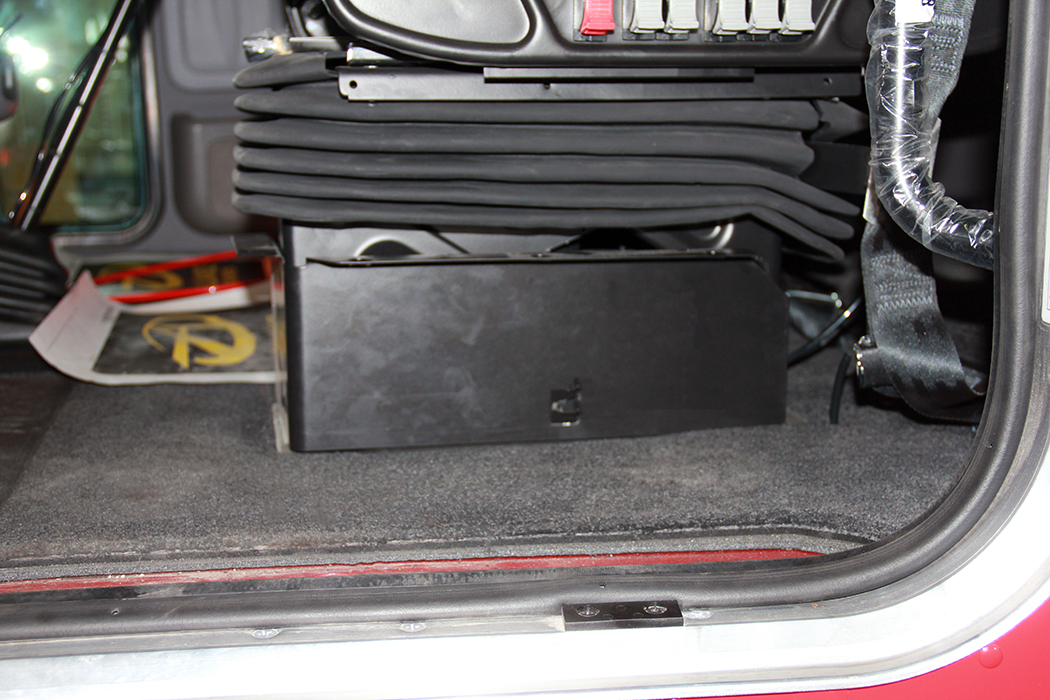
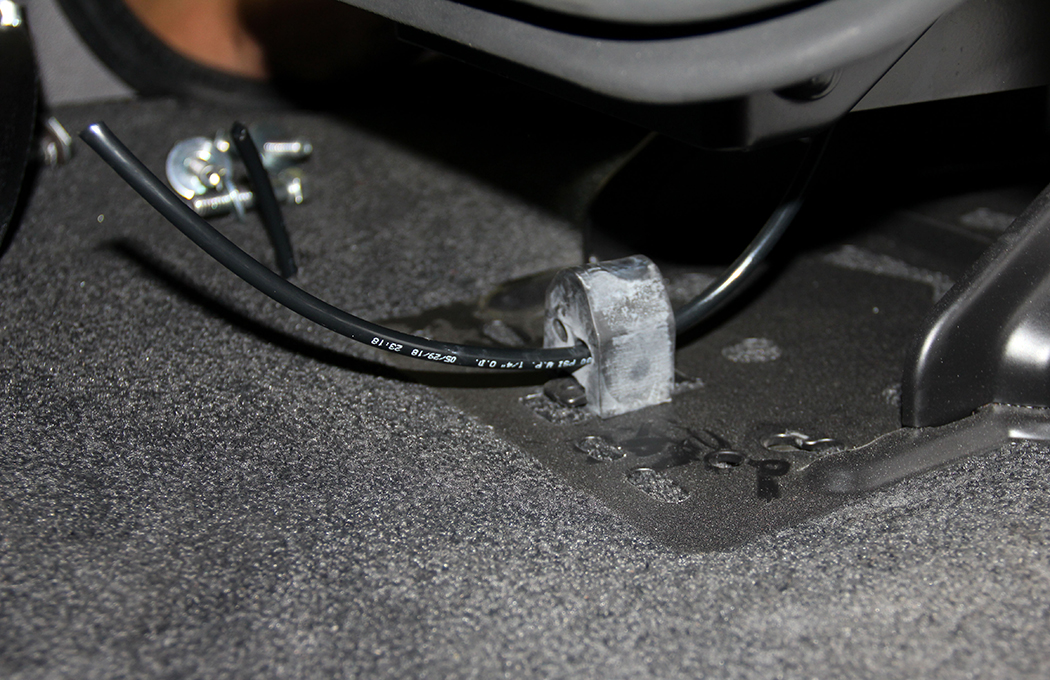
Inflating the seat will allow access to the mounting bolts. Remove the 4 bolts threaded directly into inserts in the floor; 9/16” hex head on most Peterbilt and Freightliner models, 13MM on most KW models.
STEP #4:
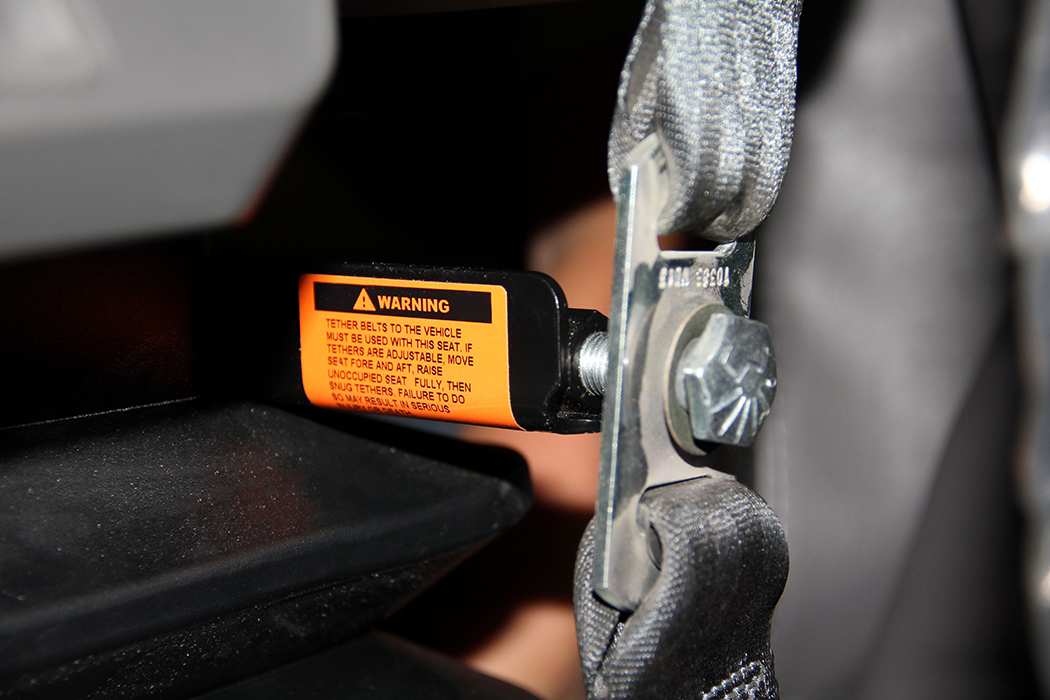
Remove the seat belts from each side of the seat. Typically, a truck has two different types of bolts for the left and right side of each seat. The side closest to the door has a shoulder bolt with a large head. This allows the belt to move freely while still being secure. The bolt to the inside is a regular bolt and holds the latch upright as well as a tether to the floor. Do not get these bolts mixed up!
STEP #5:
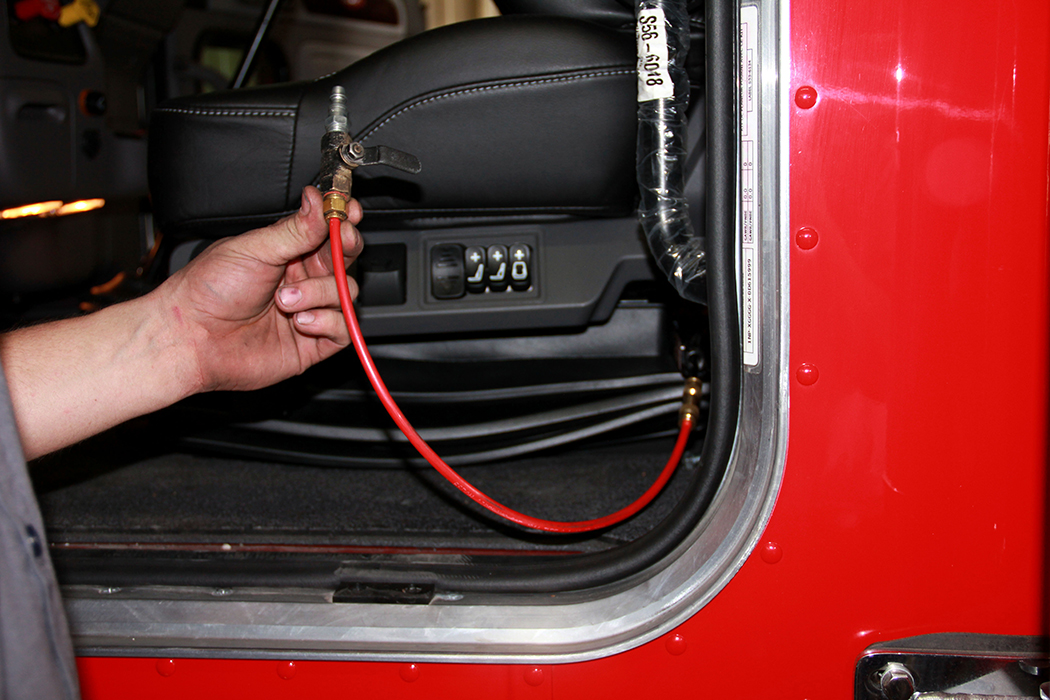
Remove the air-line connection from the floor. This will be either a quick coupler or require a 9/16” wrench to remove the compression nut and air-line. This will exhaust all the air from the truck, but it will not harm anything. If replacing both seats, inflate both seats before removing the seats and losing the air supply.
STEP #6:
With assistance, lift the new seat into place, positioning it over the correct mounting holes. Having an assistant can prevent damage to the door panel or rocker panel while trying to get the seat installed into the cab.
STEP #7:
Adding an air-line connection from an outside source (shop air) will help with installation of the new seat. By re-inflating the seat, this will once again give access to the mounting holes.
STEP #8:
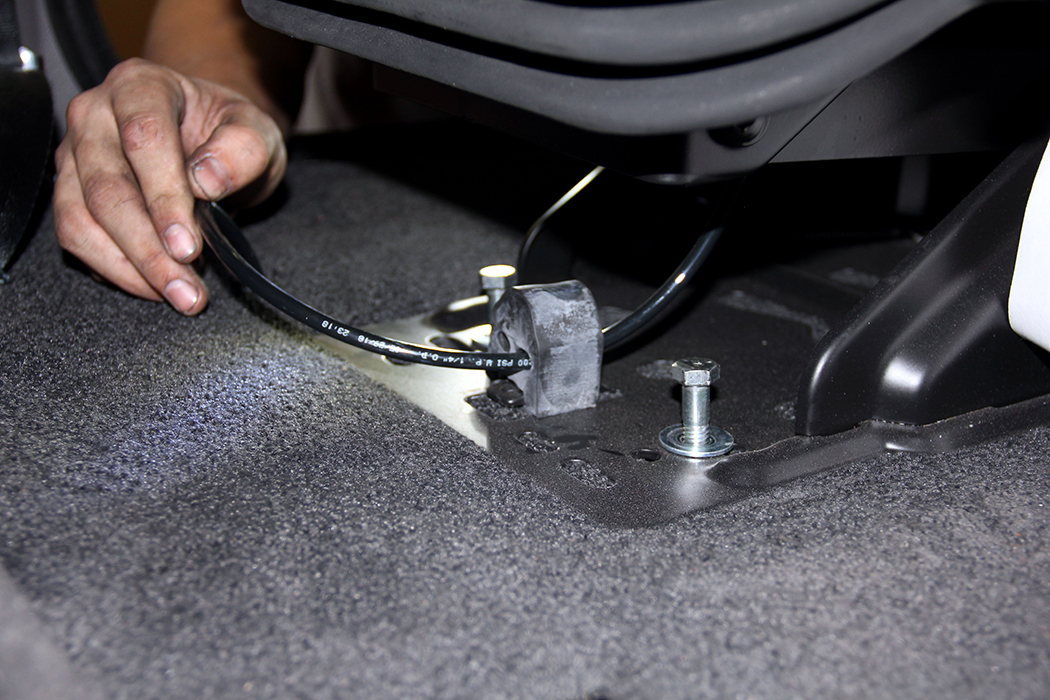
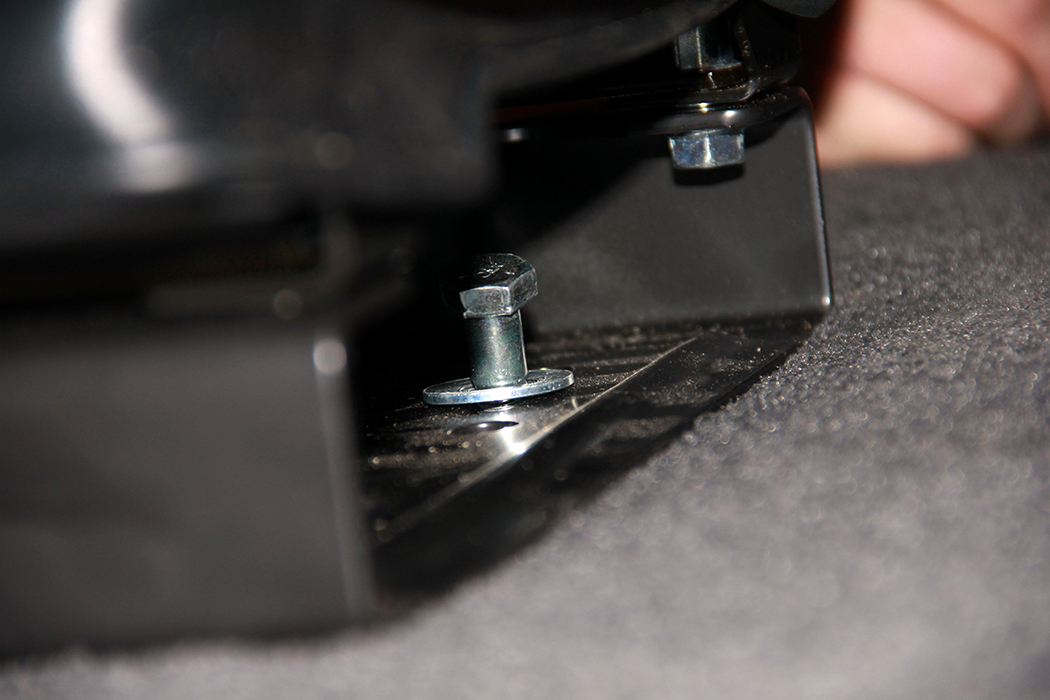
Align and insert all 4 bolts into the proper holes, coated with anti-seize to prevent problems in the future and then tighten into place.
STEP #9:
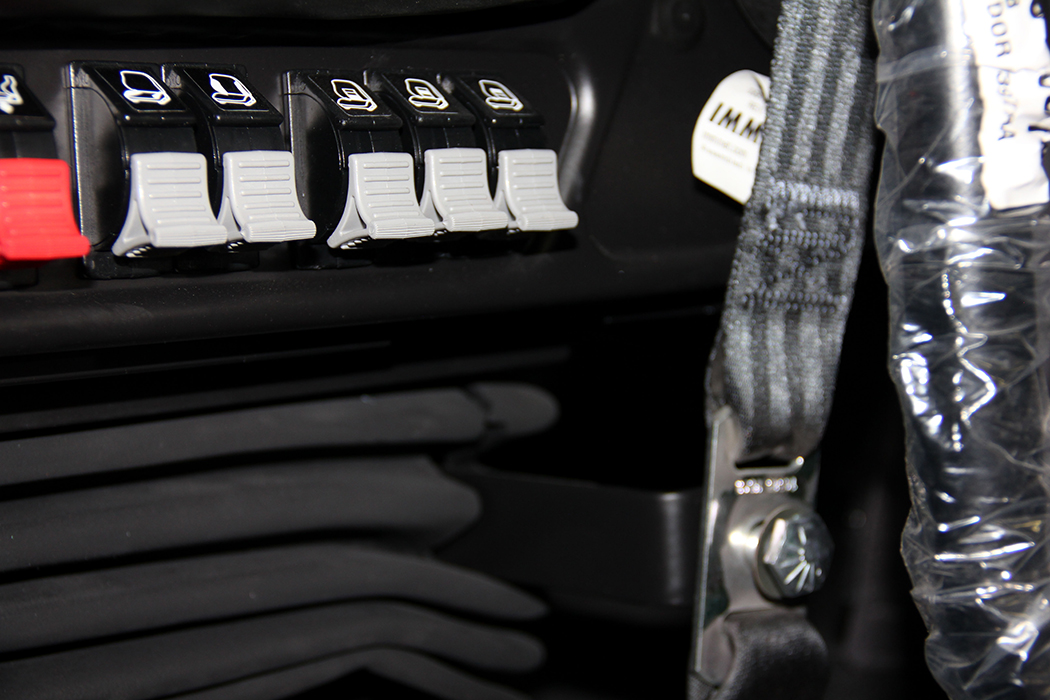
Reattach the air line and the seat belts in their proper locations.
STEP #10:
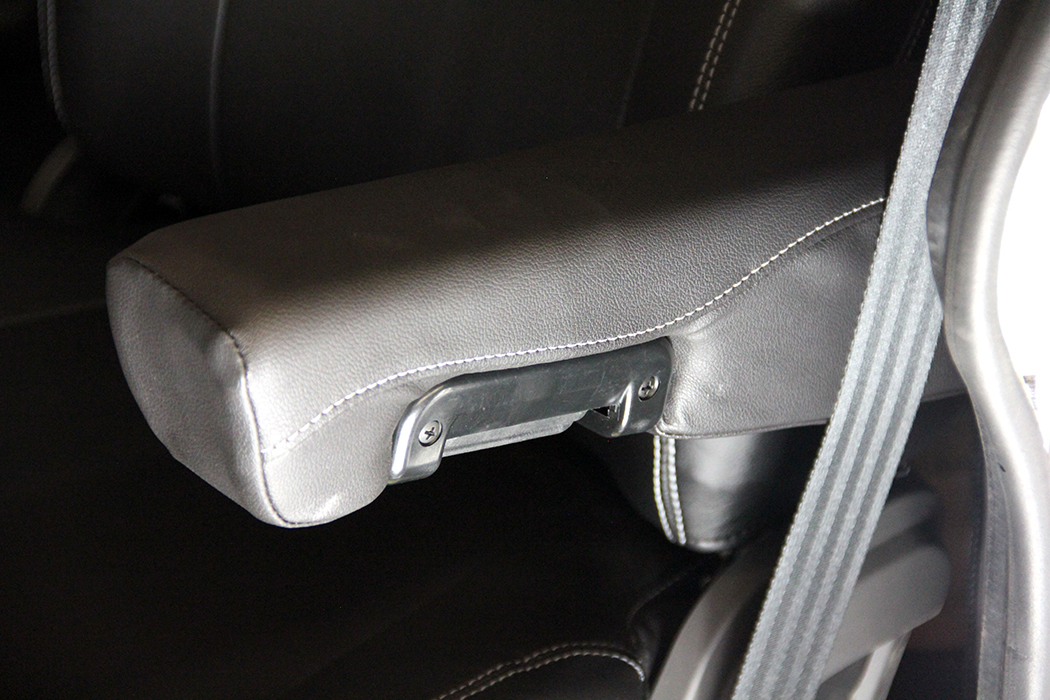
Check for obstructions of armrests or seat travel. The grab handles behind the door in this 389 were removed because of interference with the armrests.
STEP #11:
After checking the seat’s functions and no air leaks or other issues are apparent, then the installation is complete! Have a seat and enjoy your new-found comfort!!
Check out more seating options for your big rig at www.4statetrucks.com – home of the Chrome Shop Mafia!!